Here is the bottom shelf panel after smoothing the surface with scraper cards.
I prefer scraper cards over sandpaper.

Scraper cards are small pieces of tool steel on which you burnish a burr on the edge. The card is held with your hands on both sides and you bend it in the middle with your thumbs to apply pressure along the edge against the woods surface. You then push the card away from you along the grain direction. The burr actually cuts the wood like a plane. No circular scratches left behind by sanding with orbital sanders. Also this keeps my shop from being blanketed in a fine layer of dust. The scrapers are also excellent for working on wild grain that shows up around knots in the wood.

Grooves called dadoes (sounds like day doh) are cut into the lower rails to accept the edges of the bottom shelf panel.

I make the panel slightly thicker than the width of the dado and chamfer the panel's back edge so the upper edge will fit snugly against the top edge of the dado.

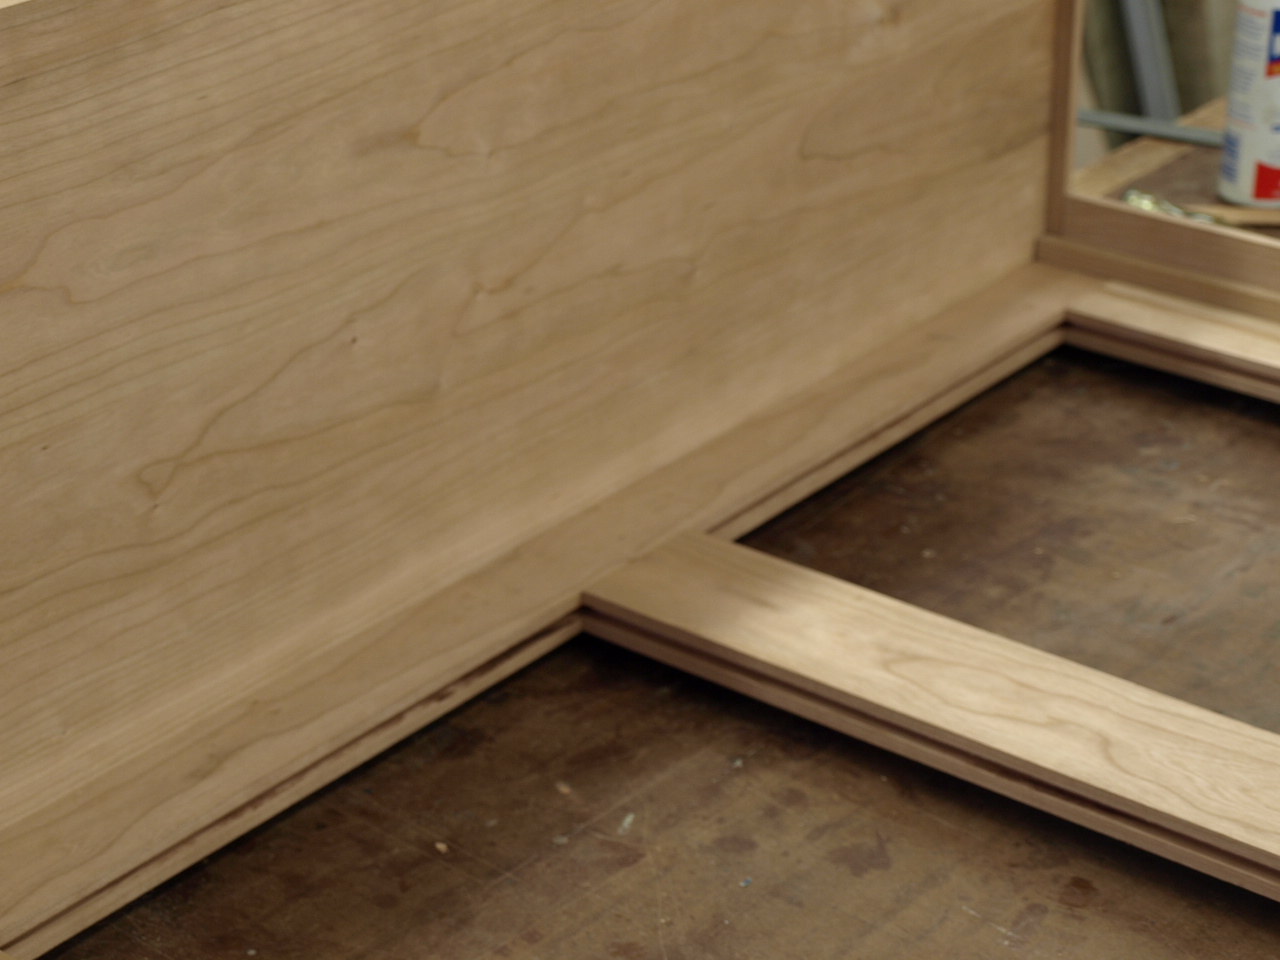
Shelf panel in place, nice fit if I do say so myself.

In order to fit all this together takes a lot of joinery work. Here you can see the mortise on the bottom edge of the corner post to accept the side rail (side rail is the end that I have the corner post perched upon) and a notch above that to accept the corner of the shelf panel which is fit into the side rail dado. The last mortise is for the rail that will run horizontally across the front of the cabinet.

Closer view of the same joinery work, I like joints.
In this photo you can see I have cut dadoes on the edges of the rear stiles and rails to accept solid cherry panels to fill in the open areas of the back of the cabinet.

The panels will slip into the grooves like so. Beauty eh!

I use a high auxiliary fence that fits over the table saw fence. This allows me to safely raise the panels. The blade is set at an 8 degree angle for this project. The angle used can be somewhere from 15 degrees to 7.5 degrees.

Called raised panels because they look as if the central area of the panel has risen up out of the flat panel. I raised the panels on both faces so even the backside of the cabinet will look good even if it's only the wall that will see it.

Here is the rear of the cabinet after glue up. I also brought out the oil varnish and pre finished the panels and rails and stiles before assembly.

This afternoon I set up what I have built so far to see if it looks as I had hoped it would. I am happy with what I see.


Sunlight on oiled cherry. Warm and cuddly isn't it.
Well I still have lots left to do. Maybe there will be some glass on the sides and shelves by the end of the week with a nice wood panel on top too. The doors will come last so they can bring this cabinet to a close.
I am enjoying this build immensely. Right from the design at the beginning, making adjustments as I go, working out the joinery, considering direction of the grain and color of the wood, allowing for wood movement as real wood furniture lives and breathes. I can't wait to see my friend's reaction when it is finished.
As always, thanks for looking.
Ken

great curio babinet, I think the most precious thing is that you design and made it all by yourself, thanks for sharing.
ReplyDelete