Sunday 27 November 2011

Cherry Curio Cabinet

   Hi everyone, I've been working some cherry wood to make a nice two door curio cabinet. I lost a day during the week due to the freezing rain that came through in the early hours of Tuesday. I operate a combination salter plow unit on Hwy 401 during the winter months. I had to get a little shut eye after a bleary eyed night of salting roads. Power tools and sleep deprivation lead to lose of digits.

Here are some pics of from this week.

Start with ripping up some rough lumber to make the corner posts. Luckily all the wood for this project came from the same tree from Jeff Waite.


Jointed edges and planed to thickness


Cut 45 degree angles on the edges


Glue them up like this and you have the corner posts.


Mark out the mortise holes that will accept the tenons from the horizontal rails.


Cut the holes with a square chiseled mortising bit.


The holes the mortising chisel creates look like these.


I take time to ensure that I can get all the horizontal members that you see on any given side of the cabinet from the same board so the color and wood grain work together. I also do the same for vertical parts. You won't get that kind of attention with factory built furniture.


Trying to match some grain for the door rails (top and bottom) to give some visual interest to the doors.


Lots of rails with the tenons ready to be fitted. I use machines to rough out the tenons then fit the tenons to the mortises using hand tools.


It's finicky work but makes for good strong joints.


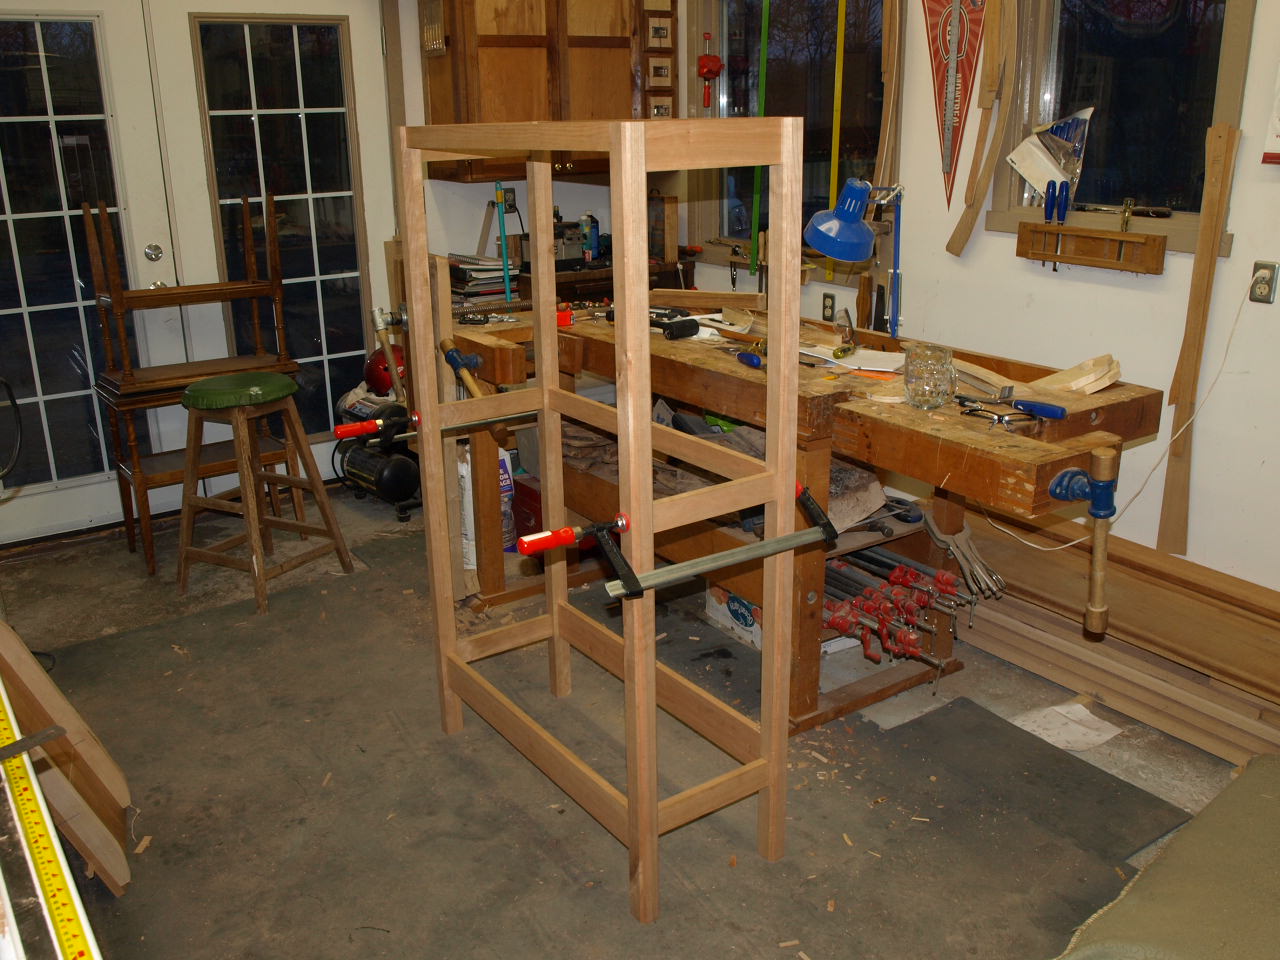
Here is an end assembly coming together.


Things are fitting together nicely, still lots left to do.


  Hopefully next week I will post again and have some of the detailing to show you.
Until then I'll be in the shop.

Thanks, Ken

Sunday 13 November 2011

Poppa's Rocker II

  The rocker is finished and I finally have some time to put up some photos. I have been busy working at my real job with Pumpcrete. Everyone is hurrying to beat the weather. Be sure to read the previous post Poppa's Rocker for the history on this piece. I'm going to have a seat after all that work. Enjoy the photos.

                                           Armrests and support corbels


               What's cooking? Hickory strips for the seat slats. Ready in 45 minutes.


                  Artistic shot of steamed hickory cooling in the bending form.

         
           After cutting and smoothing the slats they go on to make a seat like so.


 Re sawing on the band saw to make strips for the bent lamination for the rockers


                                                Take a bunch of these strips

                                       
                                             And plane to final thickness.


                 Everyone says I have too many clamps. I think I need more of them.


           I added a strip of walnut in the rocker lamination for some visual interest.


Let the lamination cure in the form for 24 hours then scrape off the glue and joint the edges and cut them to width like so.


While the laminations were drying I took some of the walnut and added banding to the lower edges of the seat rails and the front stretcher


                          And lets place one on top of the upper backrest rail.


                    Seat slats attached and it's ready for the rockers to go on.


     But first we have to shape the rockers and mortise some holes to attach the legs.

 
                                                            Cool huh?

                                        
                                           Glue and clamp the rockers on.

  
Ready for varnish.


thanks for looking.

Ken