Showing posts with label China Cabinets. Show all posts

Monday, 12 November 2012

Just a few touchups

I don't know how this post ended up here as I posted it way back in March or April but here it is at the top of the blog. Enjoy it again, like a second cup in the morning.

 Last week I delivered a buffet cabinet to a very happy customer. In the hallowed space which the buffet now stands there was once a china cabinet. The cabinet was nothing special just run of the mill veneered parts screwed together in a factory years ago.

  I agreed to deliver it on my return trip to her daughter as she was taking ownership of the china cabinet and planning to refinish it. During the journey I was required to make frequent stops at various shopping outlets. The trip through the parking areas and streets were akin to a nice jaunt across the Australian outback whilst chasing down kangaroo's.

   On arrival at our last stop before the trip home I found that one of the lower cabinet doors had completely freed itself from it's hinges. I neglected to tie the door handles together to keep them closed. Silly me.

   Well I can't leave it like that. So home it came with me and landed in the shop for some touch ups. Figured I might as well strip the finish for her and save her some time and mess. She also wanted the bonnet on top removed. My eyes wandered over the cabinet and of course I detected some things that could use a little upgrading.


This is how the cabinet looked when it arrived Sunday night.

The back of the cabinet was in rough shape and coming loose of the back. It also is not properly trimmed out ragged edges everywhere on the rear face.

  This is the cabinet Monday after I saw a couple of spots that could use improvements. The veneers are coming apart in the plywood on the lower doors. I'll make some simple new ones. Also a new back frame and panel. The base of the upper part has a huge hole in the veneer, need to fix that. This is as far as I got as I was putting a load of rough lumber into the shed after removing it from the old barn in the orchard and cleaning up some junk around the yard all day.

Here we are on Tuesday morning. It is easier to strip the finish if I take the top cabinet apart. Rear panel on the lower part is the same story as above and the bottom shelf is a sorry looking thing and the glue is letting go on the joints.

 I'll huff and I'll puff and blow your house down. 
Yup, just making a couple improvements

   For the rest of this day things are going well. The side assemblies are stripped and clean as well are the shelves for the upper cabinet and it's sides. The bottom shelf of the lower cabinet has been improved and reassembled in it's frame. The dust shelf frame under the drawer space is reassembled as well. I'll finish the day laying out some rabbets on the rear legs to accept the new back panel assembly and collect my thoughts.

This is Wednesday

  All parts stripped of old finish. New back panel installed and lower cabinet back together. Reshaped the bottom of the side panels. New skirt on the bottom with cloud lifts giving it that Greene and Greene look. Also the section on top was replaced as the old one didn't go with the new motif. I'll have to go back and pick up the drawer though, it was still full when we picked this up.

This is what things should look like when it is back together.

  Unfortunately I will be out of the shop Thursday and Friday. But more fortunately Shannon and I will be leaving for Cuba on Saturday for seven days. Ola.

thanks for stopping by.
Ken


Saturday, 12 May 2012

Cabinet Touchups are Finished

The transformation of the old china cabinet was finished a few weeks ago. Some may like the original, some may like the new. Here are the before and after shots.

As it arrived.

As it left

I haven't been in the shop much lately due to repairing a rash of break downs with vehicles, furnace, computer (the Mac's logic board passed on), lawn tractor etc.... and we have been cleaning up around the property. On the up side scrap steel is again valuable as a few loads netted some good bucks. 

My real job is keeping me busier these days as the condo market in Toronto goes berserk. After a thirteen hour work day yesterday I stopped and picked up a couple of Lotto max tickets in the hopes of not having to go to work on Monday. Better check my numbers.

As always thanks for stopping by. 
Ken


Sunday, 18 December 2011

Cherry Curio Completed

  A little over a hundred hours of working time has passed from the time I pulled the boards from the drying barn. This is how the cabinet looks tonight. Just need to put some pulls on the doors and this one is complete and ready to be gifted for Christmas.
 
 I hope my friend will be happy with this piece for years to come.


The following pictures take you through some of the final stages on this beauty.

The shelf frames will hold a piece of plate glass. This should allow light to travel through the cabinet a little easier and give the inside a lighter look.


Frankenvise is earning his keep in this shop. If I ever make a new bench it will be minus the vise that Franky is attached to and Frank will be shorter in stature.


Glue up of the sides took some unusual clamping methods. Tie downs can be used for more than holding the bikes in the back of the truck. Only one side is actually glued on at this point. I failed to get pictures of the next part of the assembly as it was very involved putting in the bottom shelf and front aprons along with other side assembly. Every cabinet maker would benefit from having four arms. It'd be hell finding a shirt that fits though.


I clamped this shop made scratch stock in Frankenvise so I could put a rounded profile on the glazing strips. Much quieter than using a router and round over bit.  Just pull the wood across the cutter and you have the same thing with out the racket.


I also used the same scratch stock with a different cutter to cut beads on some edges of the cabinet parts. 
David Moore demonstrates how to use a nice one in this article at Fine Woodworking magazine.


The strips will fit in along the edges of these openings on the side to hold in the glass.


Shelves in place. Glazing installed in the sides. Time to assemble the doors.

These boards will become the doors. The panel for the top is underneath these.


Doors and glazing strips oiled ready for glass.


I think this will be a nice profile for the top panel


 Woodworking is still a hobby for me. A hundred hours, doesn't feel like work when your enjoying it. Now I can spend my spare time with my family as we enjoy the holidays. Merry Christmas and Happy New Year.

As always, thanks for looking.
Ken


Saturday, 3 December 2011

Curio Cabinet Progressing

  Here are some more pictures from this recent commission as I soldier on towards completion. If I can get some time in the shop this week I may be able to complete this lovely cabinet. You can view more about this project at Cherry Curio Cabinet

Here is the bottom shelf panel after smoothing the surface with scraper cards. 
I prefer scraper cards over sandpaper.


  Scraper cards are small pieces of tool steel on which you burnish a burr on the edge. The card is held with your hands on both sides and you bend it in the middle with your thumbs to apply pressure along the edge against the woods surface. You then push the card away from you along the grain direction. The burr actually cuts the wood like a plane. No circular scratches left behind by sanding with orbital sanders. Also this keeps my shop from being blanketed in a fine layer of dust. The scrapers are also excellent for working on wild grain that shows up around knots in the wood.


Grooves called dadoes (sounds like day doh) are cut into the lower rails to accept the edges of the bottom shelf panel.


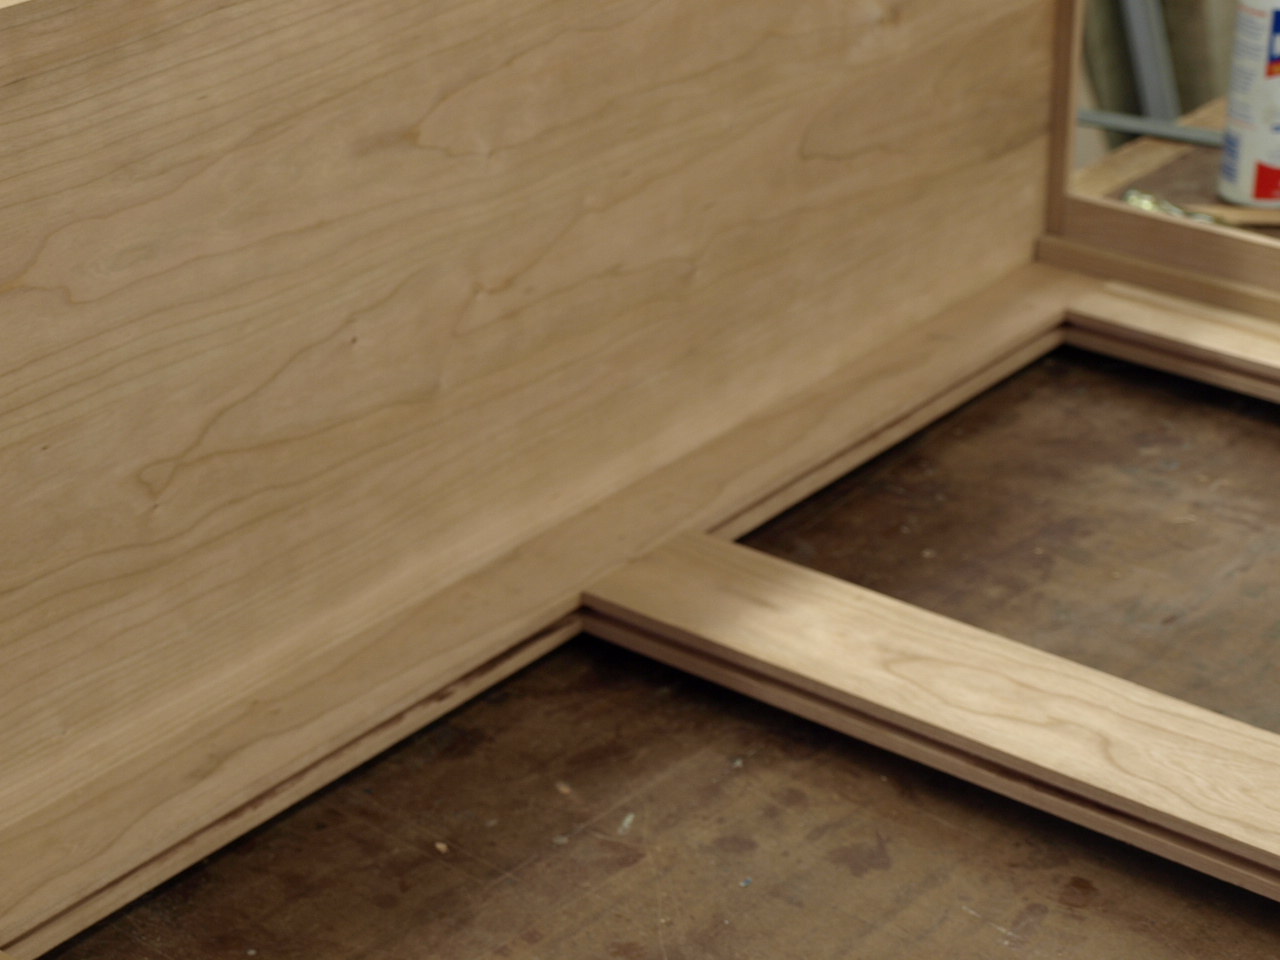
I make the panel slightly thicker than the width of the dado and chamfer the panel's back edge so the upper edge will fit snugly against the top edge of the dado.

 Shelf panel in place, nice fit if I do say so myself.

In order to fit all this together takes a lot of joinery work. Here you can see the mortise on the bottom edge of the corner post to accept the side rail (side rail is the end that I have the corner post perched upon) and a notch above that to accept the corner of the shelf panel which is fit into the side rail dado. The last mortise is for the rail that will run horizontally across the front of the cabinet.

Closer view of the same joinery work, I like joints.


In this photo you can see I have cut dadoes on the edges of the rear stiles and rails to accept solid cherry panels to fill in the open areas of the back of the cabinet.


 The panels will slip into the grooves like so. Beauty eh!

I use a high auxiliary fence that fits over the table saw fence. This allows me to safely raise the panels. The blade is set at an 8 degree angle for this project. The angle used can be somewhere from 15 degrees to 7.5 degrees.

Called raised panels because they look as if the central area of the panel has risen up out of the flat panel. I raised the panels on both faces so even the backside of the cabinet will look good even if it's only the wall that will see it.

Here is the rear of the cabinet after glue up. I also brought out the oil varnish and pre finished the panels and rails and stiles before assembly.

This afternoon I set up what I have built so far to see if it looks as I had hoped it would. I am happy with what I see.


Sunlight on oiled cherry. Warm and cuddly isn't it.

  Well I still have lots left to do. Maybe there will be some glass on the sides and shelves by the end of the week with a nice wood panel on top too. The doors will come last so they can bring this cabinet to a close.

  I am enjoying this build immensely. Right from the design at the beginning, making adjustments as I go, working out the joinery, considering direction of the grain and color of the wood, allowing for wood movement as real wood furniture lives and breathes. I can't wait to see my friend's reaction when it is finished.

As always, thanks for looking.

Ken


Sunday, 27 November 2011

Cherry Curio Cabinet

   Hi everyone, I've been working some cherry wood to make a nice two door curio cabinet. I lost a day during the week due to the freezing rain that came through in the early hours of Tuesday. I operate a combination salter plow unit on Hwy 401 during the winter months. I had to get a little shut eye after a bleary eyed night of salting roads. Power tools and sleep deprivation lead to lose of digits.

Here are some pics of from this week.

Start with ripping up some rough lumber to make the corner posts. Luckily all the wood for this project came from the same tree from Jeff Waite.


Jointed edges and planed to thickness


Cut 45 degree angles on the edges


Glue them up like this and you have the corner posts.


Mark out the mortise holes that will accept the tenons from the horizontal rails.


Cut the holes with a square chiseled mortising bit.


The holes the mortising chisel creates look like these.


I take time to ensure that I can get all the horizontal members that you see on any given side of the cabinet from the same board so the color and wood grain work together. I also do the same for vertical parts. You won't get that kind of attention with factory built furniture.


Trying to match some grain for the door rails (top and bottom) to give some visual interest to the doors.


Lots of rails with the tenons ready to be fitted. I use machines to rough out the tenons then fit the tenons to the mortises using hand tools.


It's finicky work but makes for good strong joints.


Here is an end assembly coming together.


Things are fitting together nicely, still lots left to do.


  Hopefully next week I will post again and have some of the detailing to show you.
Until then I'll be in the shop.

Thanks, Ken